Tired of store-bought curtains that don’t match your style or your budget? I’ve been in that spot too. Finding the perfect look without overspending can be tough. But here’s the good news: you don’t have to settle.
In this blog, I’ll show you how to make curtains that fit your space and taste. You’ll learn how to choose fabric, grab the right tools, sew with confidence, and avoid the common mistakes I ran into early on.
By the end, you’ll have stylish, custom curtains for a fraction of the cost. And trust me, it feels great knowing you made them yourself.
Ready to give your windows a fresh, personal touch? Let’s get started.
Why DIY Curtains are a Great Choice
Making your curtains saves you tons of money compared to buying expensive, ready-made ones. You can create beautiful window treatments for half the price of store-bought options.
When you sew curtains yourself, you have complete control over every detail, including fabric, color, and style. No more settling for boring patterns or colors that almost match your decor. You get exactly what you want.
There’s something magical about creating something useful with your own hands. Every time you look at your windows, you’ll feel proud knowing you made those curtains yourself.
Friends and family will be impressed when they ask where you bought such gorgeous curtains. You’ll smile and tell them you made them in your sewing room. Plus, you can make matching accessories whenever you want.
Choosing the Right Fabric
Picking the right fabric makes all the difference between curtains that work and ones that fail to meet expectations. You need different fabrics for different jobs around your home.
Heavy fabrics, such as canvas or velvet, work well for blocking light in bedrooms. These thick materials also help keep rooms warmer in winter and cooler in summer.
Light fabrics such as cotton or linen let soft light filter through while still giving privacy. They’re perfect for living rooms where you want brightness but not nosy neighbors peeking in.
Sheer fabrics create an airy, graceful look but offer very little privacy or light control. Save these for decorative purposes or layering with heavier curtains.
Always feel the fabric before buying to check its weight and texture. Avoid flimsy materials that will look cheap and wear out quickly after washing.
Materials You’ll Need for Sewing Curtains
When sewing your own curtains, the cost will vary depending on the materials you choose and whether you already have some tools.
Below is an estimated cost range for each material used in sewing curtains, along with the total estimated cost.
| Material | Estimated Cost Range (USD) |
|---|---|
| Fabric (44″ wide, pre-cut if desired) | $10 – $30 |
| Measuring tape | $2 – $6 |
| Sewing machine with denim jean needle (#14) | $0 – $10 (needle only) |
| Iron and ironing board | $0 – $12 (borrow or basic) |
| Grommets (with templates) | $4 – $15 |
| Grommet tool | $5 – $18 |
| Clapper (optional for pressing) | $0 – $10 (optional) |
| Curtain rod | $7 – $25 |
| Total Estimated Cost | $28 – $126 |
NOTE: These are estimated costs and may vary based on your location, fabric choices, and store prices.
How to Sew Curtains: Step-By-Step Process
Making curtains starts with measuring your windows and cutting fabric, then hemming the sides and bottom. You’ll learn how to add grommets and hang your finished curtains for a professional look.
Step 1: Measure Your Windows
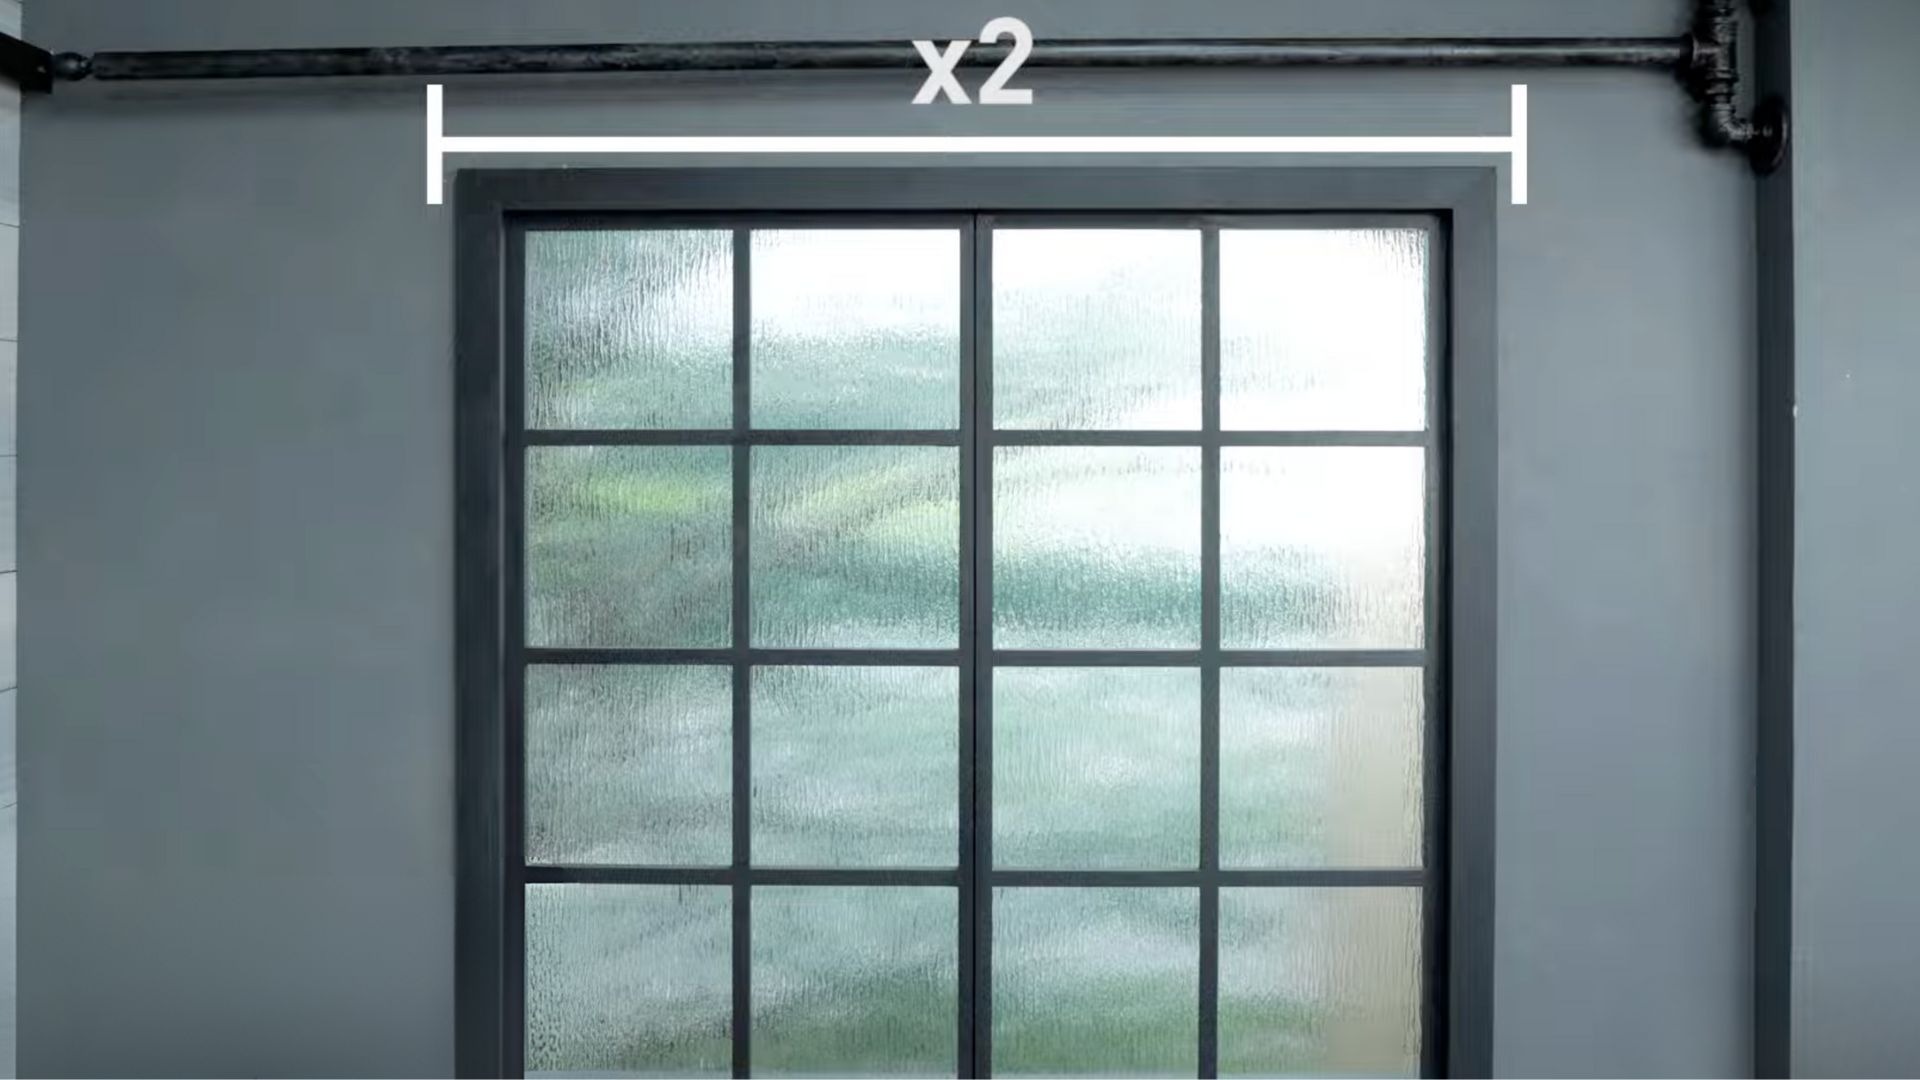
To start, measure the height of your window from the curtain rod to where you want the curtain to end. Add about 16 inches for hems and the grommet allowance.
Next, measure the width of the window and double it if you want a fuller curtain. If you prefer simple, decorative curtains, you can leave the width as is.
Bonus Tips:
- Measure twice to ensure accuracy.
- Use a sturdy measuring tape for precise results.
- Add a bit of extra length if you prefer a puddling effect at the bottom.
Step 2: Cut the Fabric
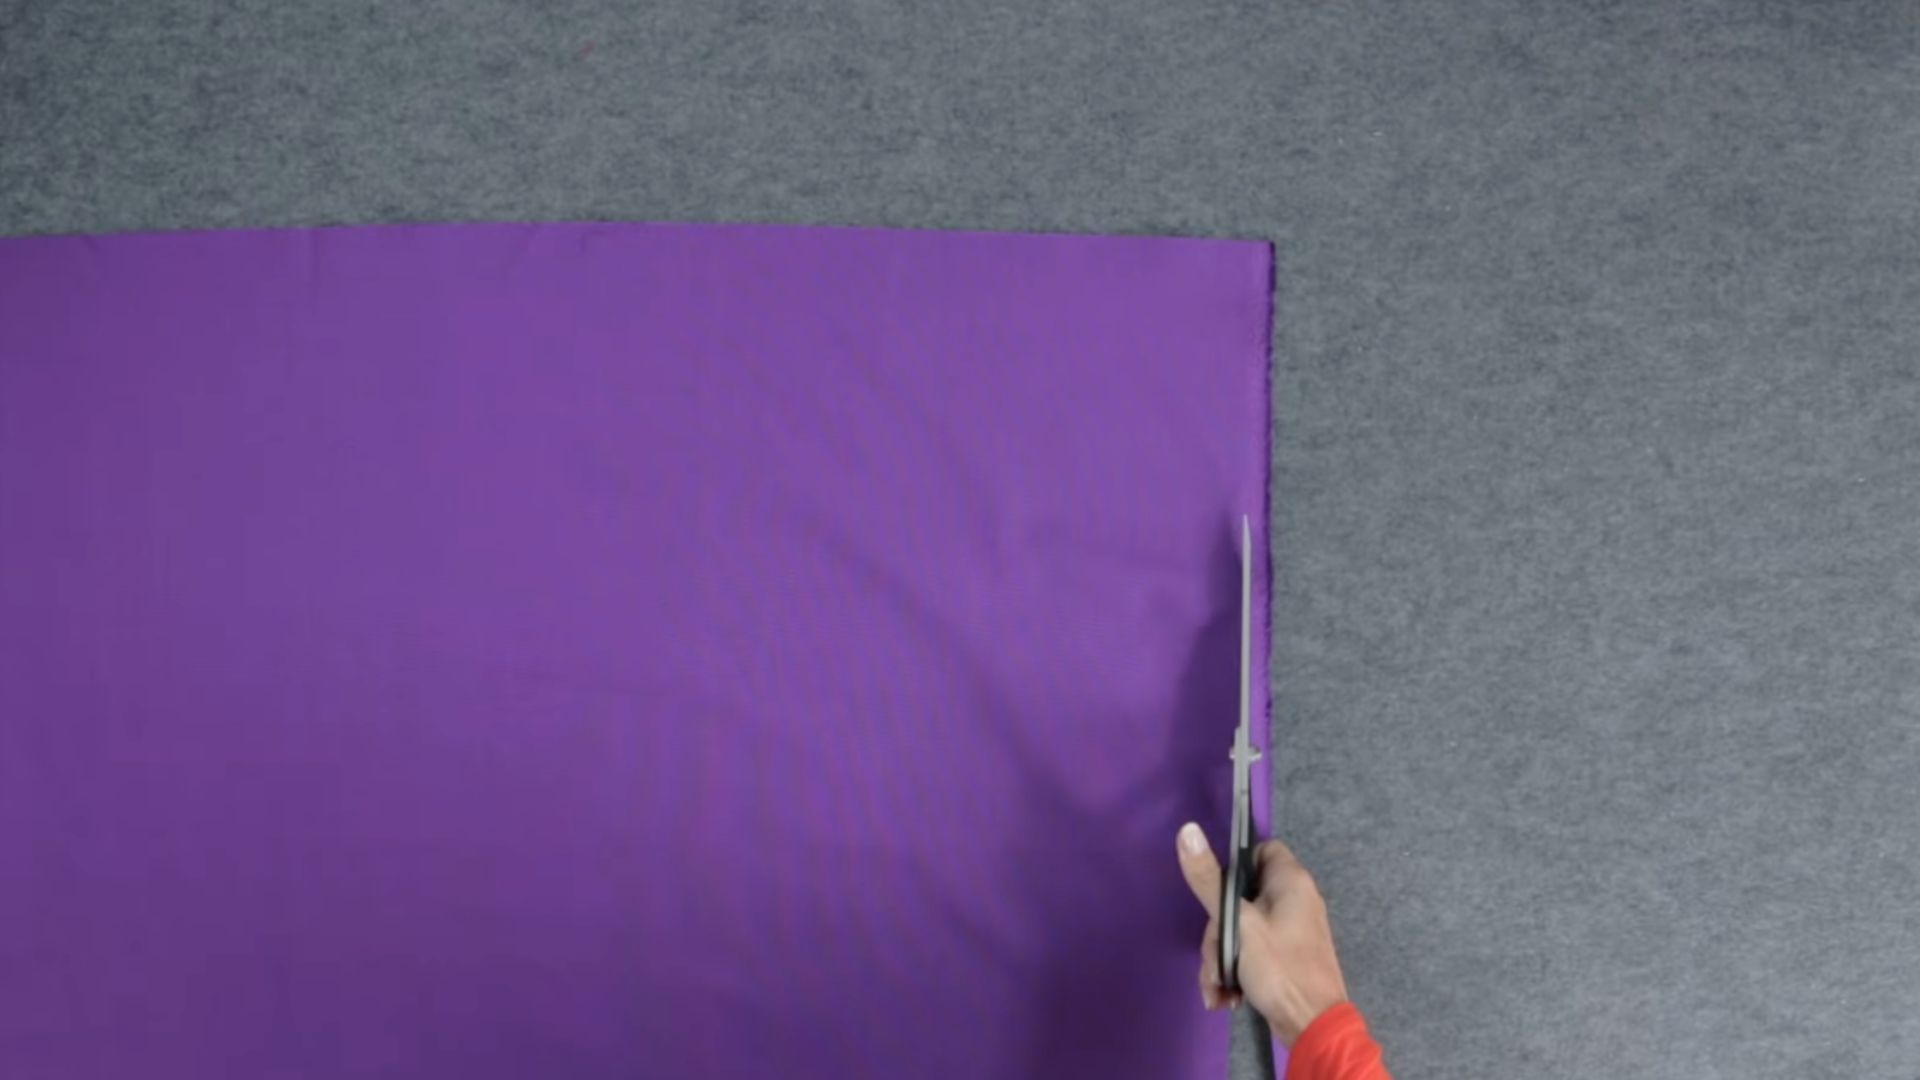
Once you’ve got your measurements, cut the fabric to the right size. For a two-panel curtain, divide the width measurement in half.
Make sure to cut the fabric carefully and remove the selvages (the tightly woven edges) to ensure smooth draping. This step ensures your curtains hang properly.
Bonus Tips:
- Use fabric scissors for clean edges.
- Don’t rush; take your time to cut straight lines.
- Always cut a little extra fabric to avoid mistakes.
Step 3: Hem the Sides
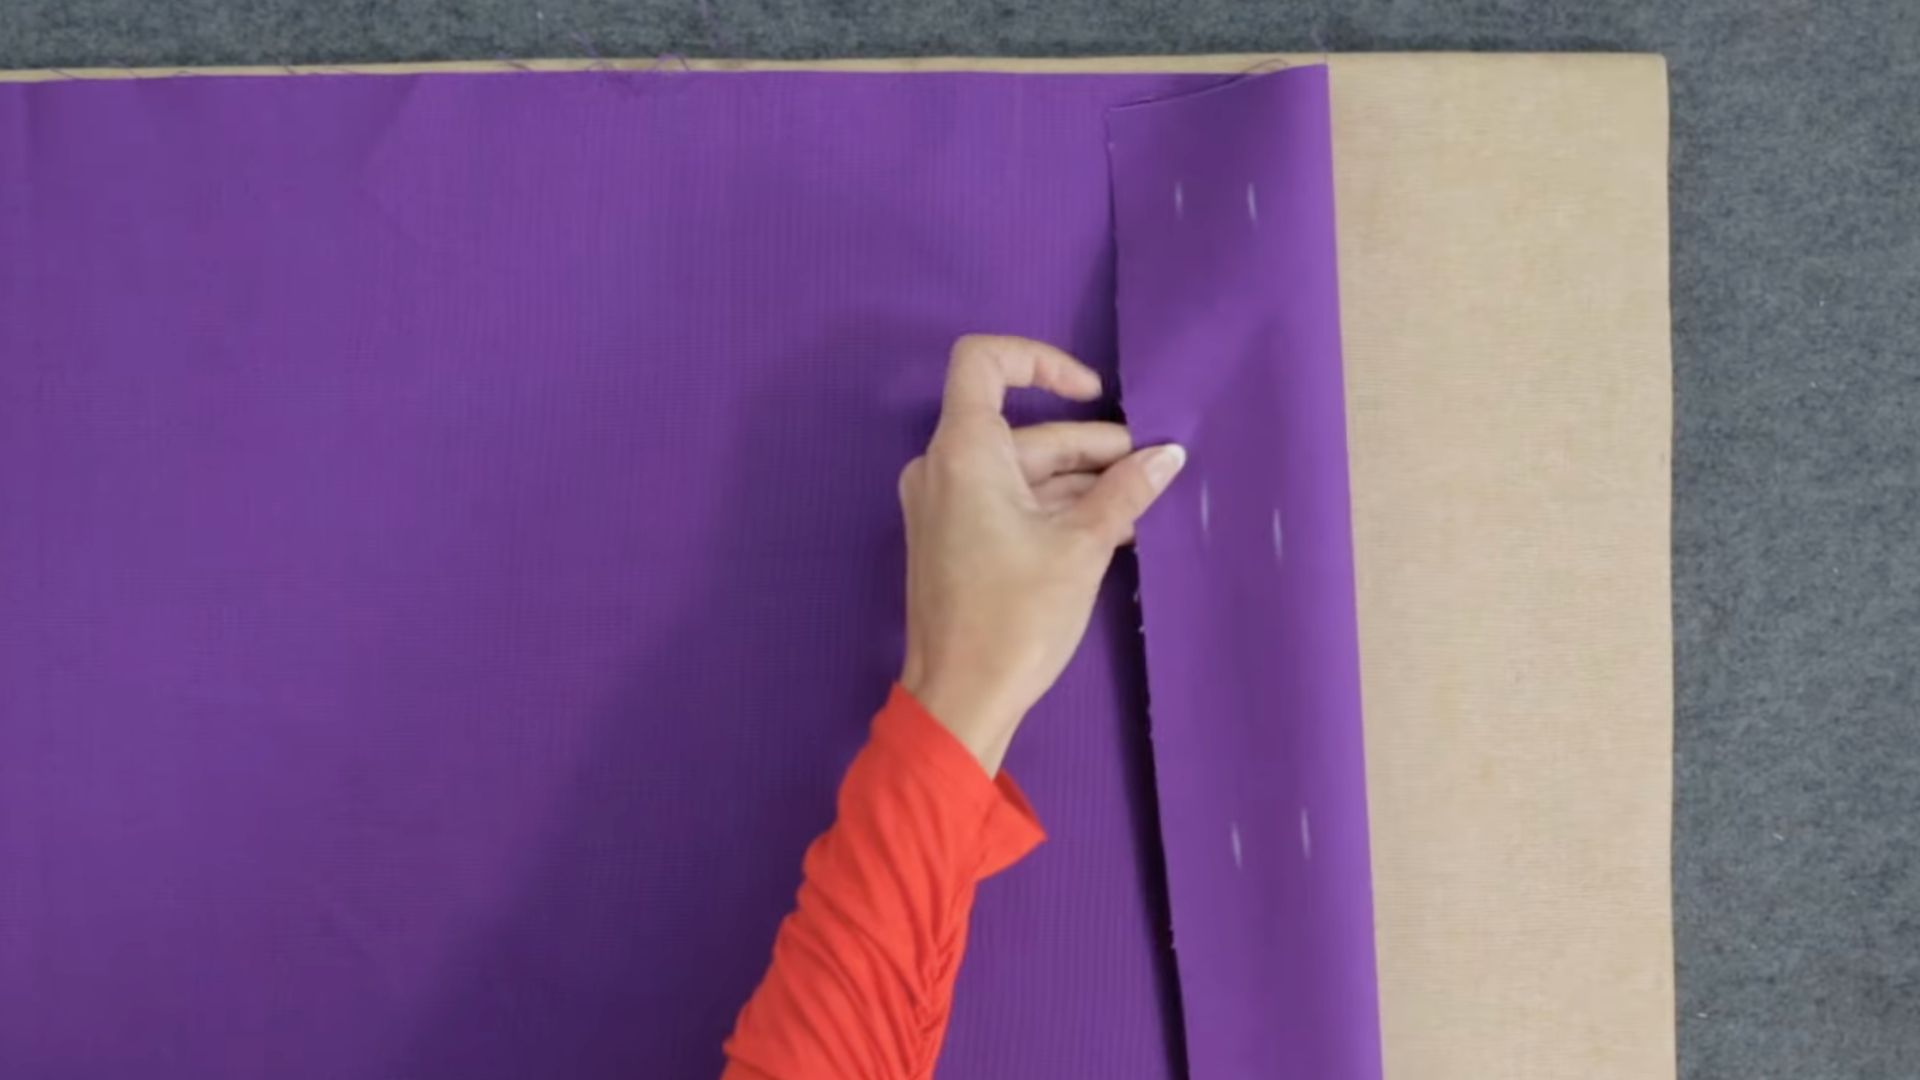
Start by folding the sides of your fabric under about 1 inch. Press it flat for a crisp edge. Fold the fabric under another inch, press again, and then stitch the fold in place.
This helps maintain clean edges and prevents fraying. Repeat the process on both sides of the curtain panels.
Bonus Tips:
- Use a clapper to achieve a sharp crease when pressing.
- Make sure both sides are even for a balanced look.
- If the fabric is thick, consider using a denim needle for easier stitching.
Step 4: Prepare the Curtain Hem
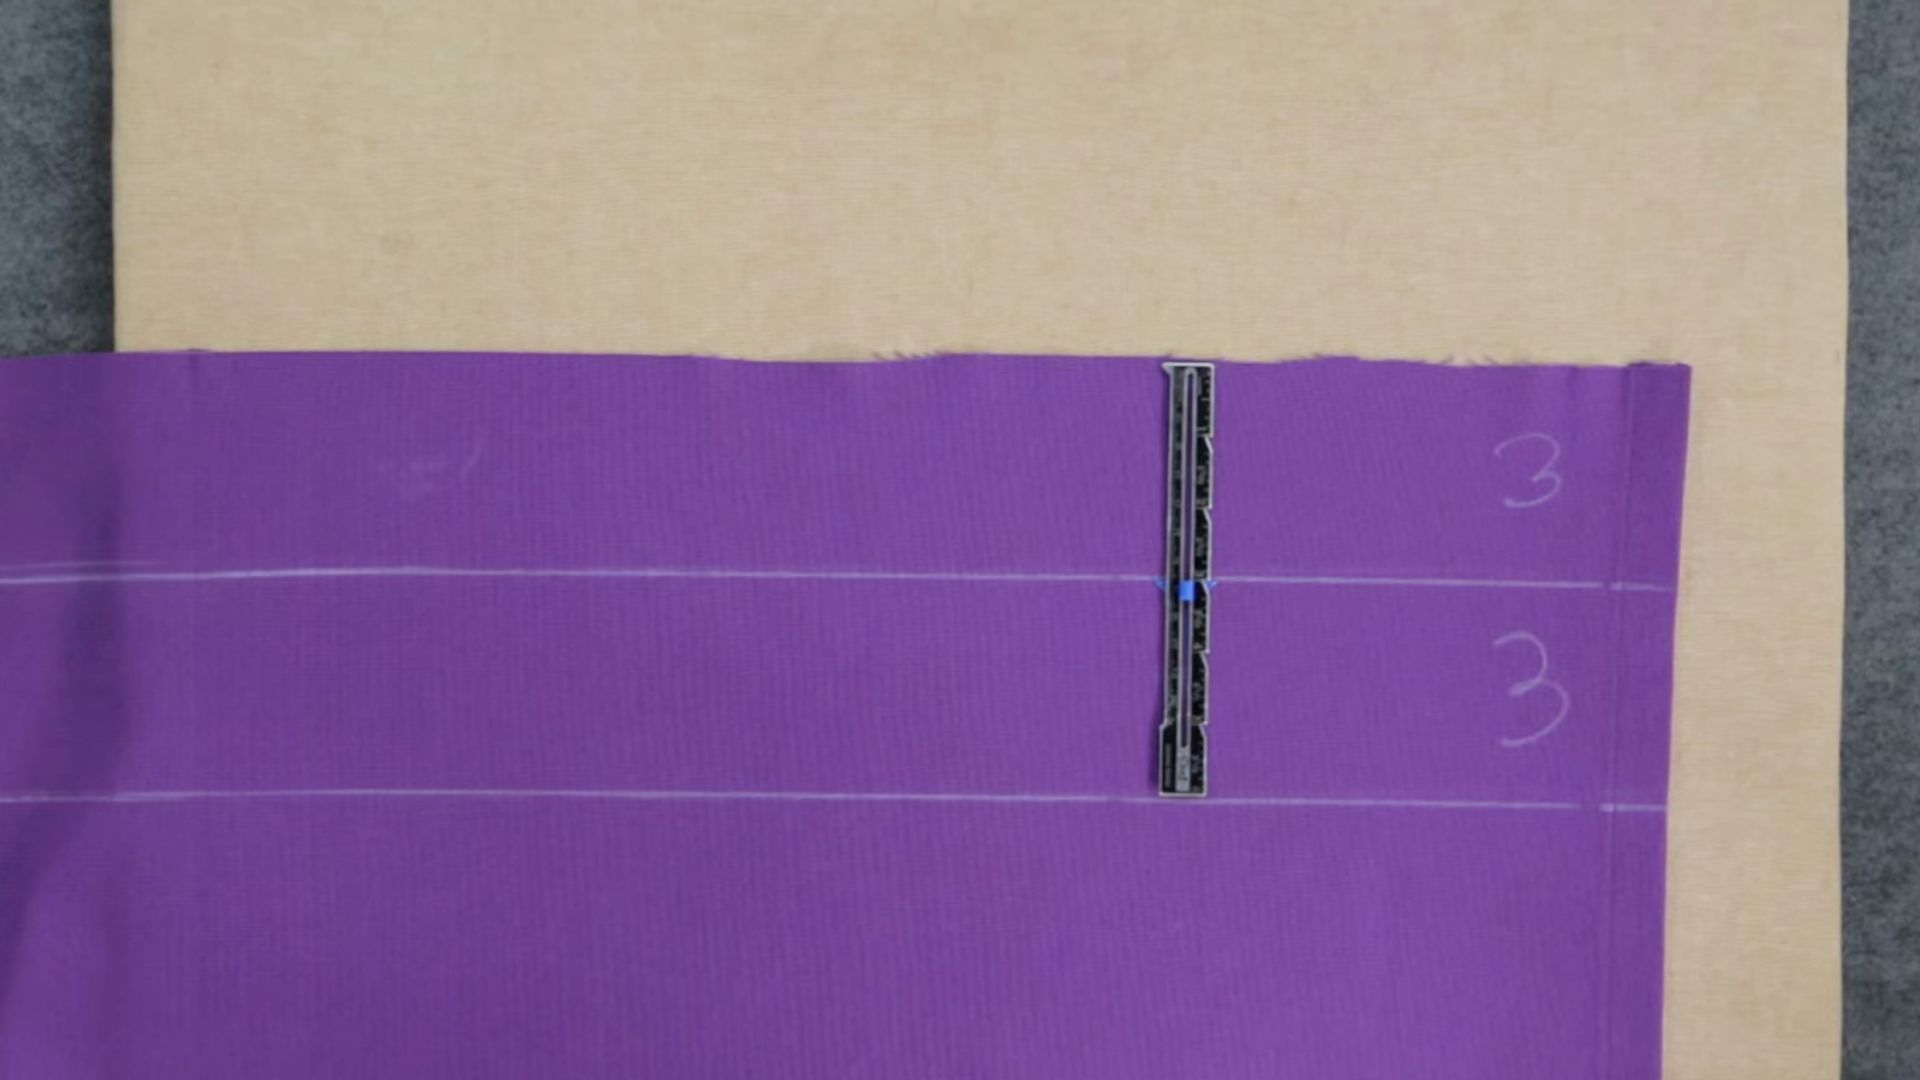
For the hem, mark 3 inches from the bottom of the fabric using tailor’s chalk. Fold the fabric up, press it, and then fold it again for a 3-inch hem.
Then, stitch the hem into place using your sewing machine. This larger hem gives your curtains a professional finish.
Bonus Tips:
- Keep the fold even to ensure a straight hem.
- Use a longer stitch length (around 3.0) to avoid puckering.
- If the fabric is bulky, place a small piece of folded fabric behind your sewing foot.
Step 5: Add Grommets and Hang
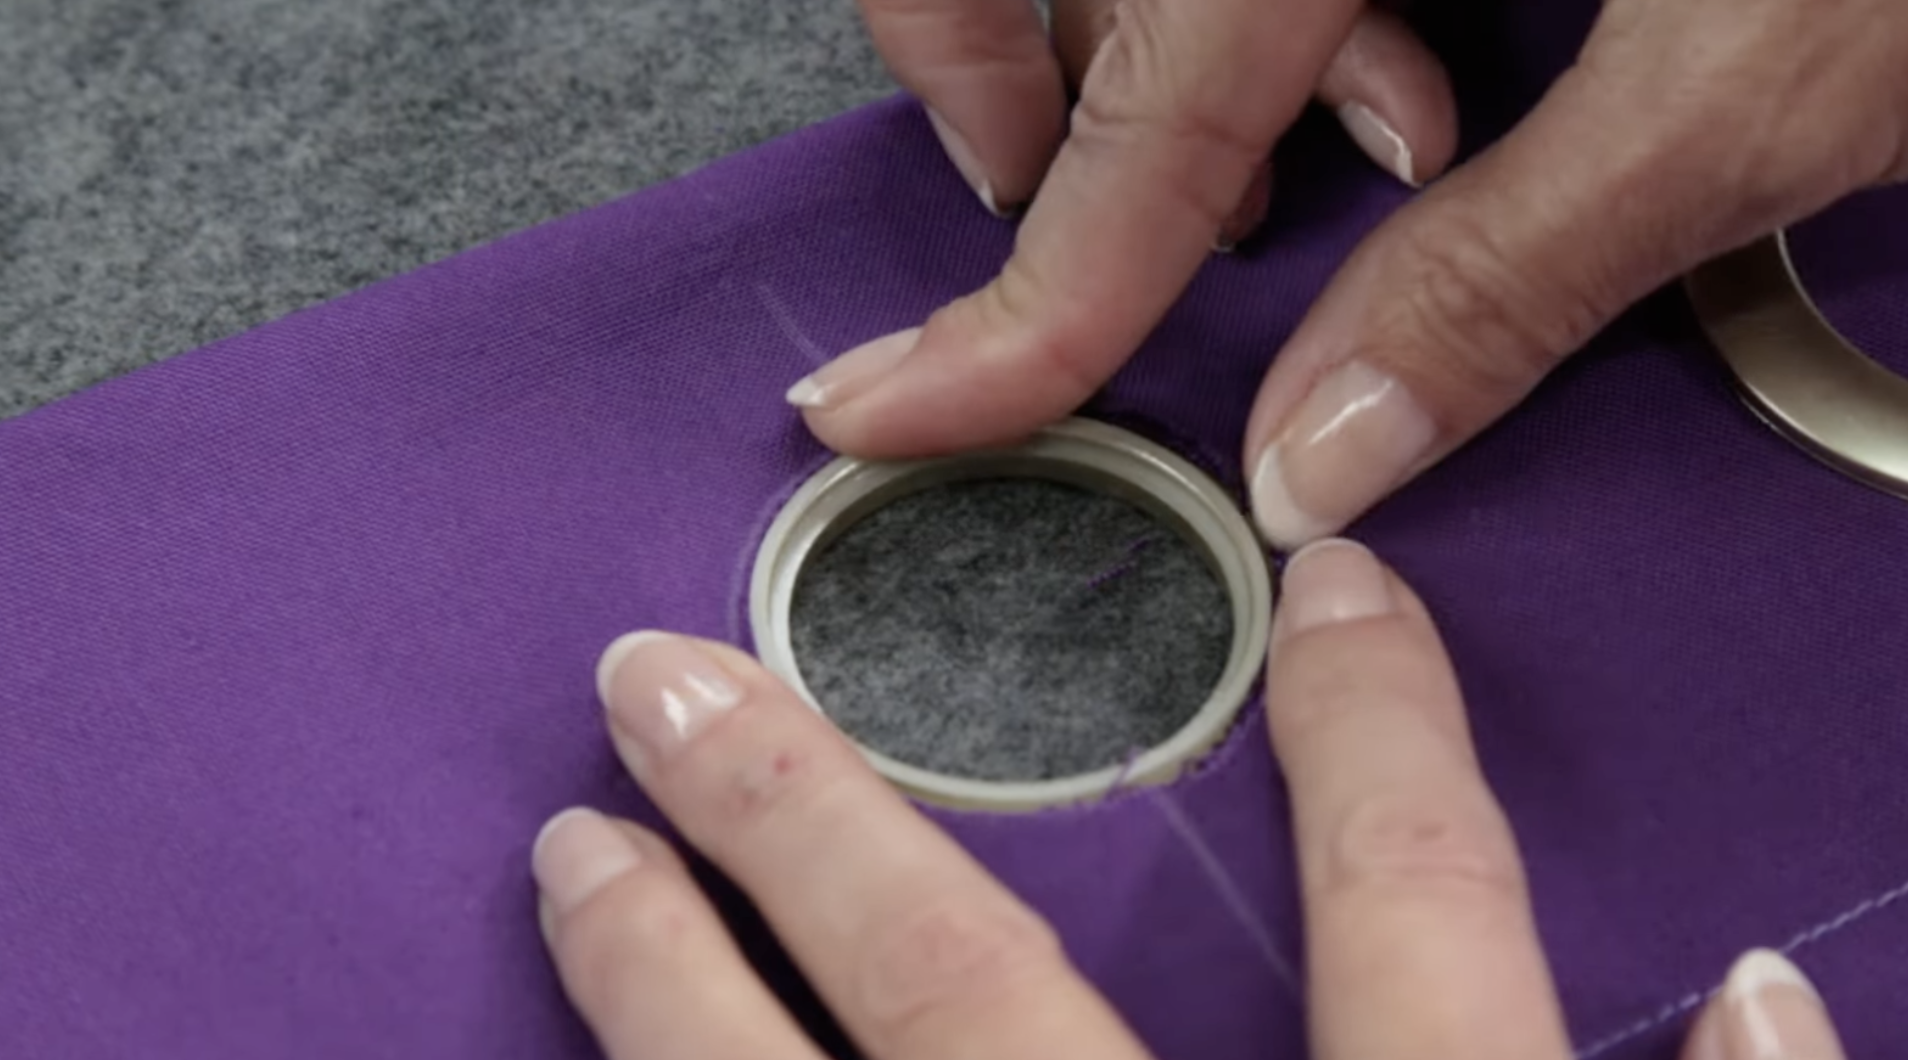
For the top of the curtain, mark where you want the grommets. Leave about 2.5 inches from the top and sides.
Use the grommet template to trace the spots and cut out small holes. Insert the grommets into the fabric, press them with the tool, and then hang your curtains on the rod.
Bonus Tips:
- Ensure grommets are evenly spaced for a neat look.
- Use a grommet tool to securely press the grommets into place.
- Try hanging the curtains immediately to check for length and fullness.
Watch: How To Make Curtains Video Tutorial
For a more detailed walkthrough of the process, check out the video tutorial below:
Advanced Curtain-Making Techniques
Different curtain techniques can change your basic sewing skills into professional-looking window treatments. These methods help you create the exact style and function you want for each room.
| Technique | Description | Best For |
|---|---|---|
| Pinch Pleats | Creating structured folds at the top for draping | Formal dining rooms, traditional decor |
| Rod Pocket | Sewing a pocket at the top for the curtain rod to slide through | Casual spaces, lightweight fabrics |
| Tab Top | Adding fabric loops at the top for a relaxed, informal look | Kitchens, children’s rooms |
| Interlining | Adding a middle layer for extra fullness and insulation | Luxury finish, energy efficiency |
| Valances | Creating decorative top treatments to finish the look | Layered window treatments |
Start with simple techniques like rod pockets before moving on to more complex pleating methods. You can always upgrade your skills as you gain confidence with each new project.
Common Mistakes to Avoid When DIYing Curtains
Here are a few more common mistakes to avoid when making or sewing curtains. Being aware of these will help you avoid frustrations and achieve a better result.
- Not washing fabric before sewing: Always pre-wash your fabric to avoid shrinkage after the curtains are finished.
- Ignoring the curtain fullness: Don’t forget to add extra width for a fuller, more refined look.
- Using the wrong thread: Be sure to choose the right type of thread for your fabric to ensure durability.
- Skipping the lining: Lining your curtains adds weight, improves insulation, and gives a more professional finish.
By keeping these in mind, you’ll end up with curtains that look great and function well in your space. Taking the extra time to get things right will pay off in the long run with a polished, professional finish.
Final Words
Making my own DIY curtains turned out to be easier than I expected, and it’s such a great way to save money while letting your personal style shine.
Now that you know how to make curtains, from choosing fabric to measuring and sewing, you’ve got everything you need to get started.
Take a second and picture your windows with curtains you created yourself. Feels pretty great, doesn’t it?
Just make sure to measure carefully, go for good-quality fabric, and take your time with each step. I’ve learned it’s all worth it once you see the finished result.
Want more simple tips and creative home ideas? Check out the rest of my blogs on the website. I’ve shared plenty to keep you inspired.

